
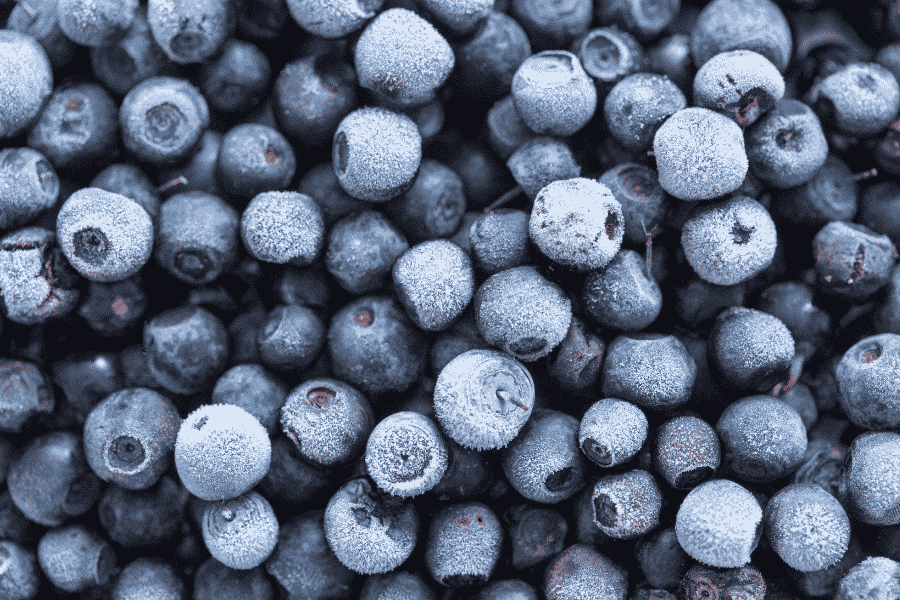
The quicker the freeze the smaller the ice crystals in the berries.
Freezing wild blueberries at home requires a deliberate approach to avoid ending up with a solid, icy block. Because wild blueberries (Vaccinium angustifolium) are smaller and possess a higher skin-to-pulp ratio than regular cultivated berries, preserving their cellular integrity during the phase change from liquid to ice is critical. Replicating the commercial standard known as Individual Quick Freezing (IQF) in a home kitchen locks in the fruit’s texture, color, and nutritional profile.
1. Dry Sorting and Debris Removal
The freezing process begins on the counter with careful preparation. Moisture is the primary enemy of frozen fruit, which means this stage should be completed completely dry.
- Spread across a flat surface: Pour the blueberries across a clean, light-colored tray, rimmed baking sheet, or large cutting board. Spreading them out makes foreign objects immediately visible.
- Remove field debris: Pick out small twigs, leaves, stem remnants, and dried floral calyxes that cling to the fruit.
- Cull substandard berries: Discard shriveled, green, or ruptured berries. Crushed berries leak sugar-rich juices that do not freeze cleanly at standard freezer temperatures, causing nearby berries to clump together during the freeze cycle.
2. Managing Moisture and the “Bloom”
The question of washing is central to successful home freezing:
- The Dry-Freeze Rule (Recommended): The optimal method is not washing the berries before freezing. Wild blueberries feature a natural, pale waxy coating called the “bloom.” This layer acts as a natural moisture barrier that protects the skin from desiccation and freezer burn. Freezing dry berries ensures that individual fruits stay separate and prevents the skins from turning tough.
- If Washing Is Unavoidable: If berries carry grit, dirt, or dust that requires washing beforehand, you must eliminate all surface water prior to freezing. Rinse gently in cold water using a colander, spread the berries in a single layer over absorbent lint-free kitchen towels or paper towels, and let them air-dry completely for 1 to 2 hours. Placing damp fruit into a freezer creates large external ice crystals that pierce the skin and glue berries into a single brick.
3. The Flash-Freeze (IQF) Stage
Flash freezing drops the fruit’s internal temperature rapidly. Slow freezing produces large, jagged water crystals that puncture plant cell walls, leading to collapse and excess liquid runoff upon thawing. Fast freezing produces microscopic ice crystals that keep the cellular structure intact.
Execution Steps:
- Prep the Sheet Pan: Line a heavy-duty, rimmed baking sheet with parchment paper or wax paper. This prevents the berries from bonding to the cold metal surface.
- Single-Layer Arrangement: Distribute the berries across the pan so that they sit in a single layer. Berries should have breathing room and should not pile on top of one another. Unobstructed airflow around each berry accelerates the freezing rate.
- Placement: Set the tray flat on the coldest shelf of your freezer—typically toward the rear wall or directly on the bottom rack. Avoid resting the pan against the freezer door, which experiences frequent temperature swings.
- Freezing Duration: Keep the tray undisturbed for 2 to 3 hours.
- Check for Readiness: The berries are ready when they feel hard, dry to the touch, and slide across the sheet like tiny marbles with an audible rattle.
4. Packing and Minimizing Air Exposure
Once the berries are frozen through, speed is critical. If left at room temperature for even five minutes, warm ambient air will condense onto the cold berries, creating surface moisture that refreezes into frost inside your storage container.
- Heavy-Duty Freezer Bags: Standard sandwich bags are too thin and air-permeable for long-term storage. Use thick, vapor-resistant freezer bags. Fill the bag three-quarters full, press out as much air as possible by smoothing the bag flat against the counter, and zip it shut. Alternatively, use a straw in the corner to draw out remaining ambient air before sealing.
- Vacuum Sealing: Because the blueberries were flash-frozen hard in Step 3, they will not crush under vacuum pressure. Vacuum-sealing removes atmospheric oxygen almost entirely, preventing the oxidation that breaks down pigments and nutrients.
- Rigid Glass or Plastic Containers: Airtight plastic containers or straight-sided glass canning jars work effectively. Leave approximately 1/2 to 1 inch of headspace at the top of the container to allow for minor expansion.
5. Storage Parameters and Shelf Life
Optimal settings
Temperature: -18 C or F
Location of frozen berries: Back of freezer of bottom of deep freeze.
Air Protection: Vacuum sealed
Storage Window: 10 – 12 months.
Label each container clearly with the freezing date. By following this sequence—dry sorting, single-layer flash freezing, and rapid airtight containment—the berries remain free-flowing, allowing you to pour or scoop out the exact quantity you need while the remainder stays preserved in the freezer.